Winter Care to Get HD Glow for All Skin Types at Home
skinorganictips.cpcpoint.com provides authentic, effective organic home remedies for beautiful, healthy, & glowing skin that are naturally free from synthetic chemicals and are truly non-toxic.

As the colder time of year chill sets in, our skin frequently endures the worst part of unforgiving weather patterns, prompting dryness, bluntness, and a dreary tone. In any case, accomplishing a brilliant, HD shine throughout the cold weather months isn't just imaginable however should be possible squarely in the solace of your own home. Winter care for a shining composition is fundamental for all skin types, as each skin type requires explicit consideration and sustenance to battle the difficulties presented by colder temperatures.
This exhaustive aide will walk you through viable and available at-home cures, appropriate for all skin types, to guarantee your skin stays hydrated, radiant, and HD prepared even in the coldest cold weather days. From sustaining Do-It-Yourself covers to basic way of life changes, we'll investigate the comprehensive way to deal with winter skincare, permitting you to embrace the season with certainty and a brilliant sparkle that rises above the impediments of climate. We should set out on an excursion to uncover the privileged insights of winter care that will leave your skin looking and feeling its ideal, no matter what the colder time of year's frigid hold.
Step.1: Tomato and Rice Flour Scrubbing:
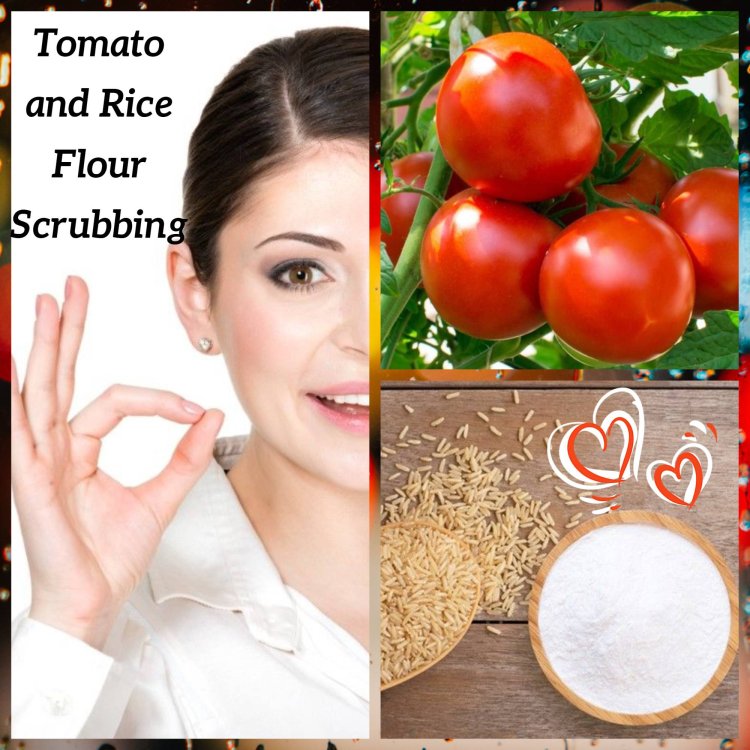
Positively! A tomato and rice flour scour can be a characteristic and viable method for shedding and revive your skin. Here is a straightforward recipe and guide on the best way to make and utilize it:
Fixings:
- Ready Tomato
- 2 Tablespoons of Rice Flour
Directions:
i. Set up the Tomato: Wash the tomato completely to eliminate any soil or debasements. Slice the tomato down the middle and eliminate the seeds. You can utilize a spoon to scoop them out.
ii. Squash the Tomato: Take one of the tomato parts and squash it into a mash. You can involve a fork or blender for a smoother consistency.
iii. Blend in with Rice Flour: In a bowl, consolidate the crushed tomato with 2 tablespoons of rice flour. Change the amount if necessary to accomplish a glue-like consistency.
iv. Make the Scour: Mix the fixings well to frame a scour. The rice flour will go about as a peeling specialist, assisting with eliminating dead skin cells.
v. Application: Prior to applying the scour, ensure your face is spotless and sodden. Delicately knead the clean onto your face utilizing roundabout movements. Be cautious around the eye region. Permit the clean to sit all over for 10-15 minutes. This permits the regular acids in the tomato to chip away at your skin.
vi. Wash Off: Wash your face completely with tepid water. Try to eliminate all hints of the scour.
vii. Saturate: Wipe your go head to head and apply your customary lotion to keep your skin hydrated.
Benefits:
I. Shedding: Rice flour goes about as a delicate exfoliant, assisting with eliminating dead skin cells and unclog pores.
II. Lighting up: Tomatoes contain regular acids that can assist with lighting up the skin and diminish dull spots.
III. Cell reinforcements: Tomatoes are wealthy in cancer prevention agents, which can add to better looking skin.
IV. Smooth Surface: Customary utilization of this clean might add to a smoother and more brilliant composition.
Note: On the off chance that you have delicate skin, it's consistently smart to do a fix test prior to applying any new hand crafted clean. Moreover, stop use assuming you experience any disturbance or distress.
Step.2: Steaming to Minimize Pores:
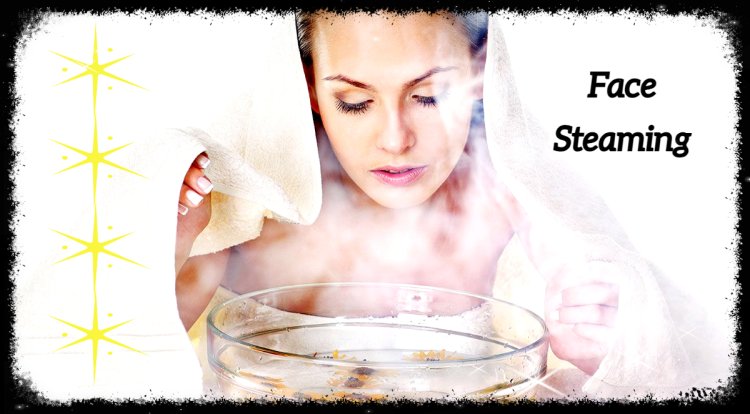
Steaming your face is a well known technique for limiting pores and advancing by and large skin wellbeing. Here is a bit by bit guide on the most proficient method to steam your face at home:
Fixings:
- A Bowl
- High Temp Water
- Towel
- Discretionary: Medicinal balms or spices (e.g., chamomile, lavender) for added benefits
Guidelines:
i. Purify Your Face: Begin with a perfect face to eliminate any cosmetics, soil, or oil.
ii. Bubble Water: Heat up a pot of water. You'll involve this heated water for the steam.
iii. Discretionary: Add Natural balms or Spices: In the event that you have rejuvenating oils or spices, you can add a couple of drops to the heated water. For instance, chamomile and lavender are known for their calming properties.
iv. Make a Tent: Place the boiling water in a bowl, and position your face over the bowl at an agreeable distance. Make a tent with a towel over your head to trap the steam.
v. Steam Your Face: Permit the steam to wrap your face for around 5-10 minutes. Keep your eyes shut during this chance to forestall aggravation.
vi. Enjoy Reprieves if Important: In the event that the steam feels excessively serious, enjoy reprieves by moving your face somewhat away from the bowl. Pay attention to your skin's reaction and change as needs be.
vii. Wipe Off: In the wake of steaming, wipe your go head to head with a spotless towel. Your pores ought to be open and more responsive to medicines.
viii. Apply a Veil or Treatment: This is an optimal chance to apply a cover, as your skin is prepared to ingest supplements. Consider utilizing a dirt cover to additionally purge and limit pores.
ix. Saturate: Finish the daily schedule by applying a reasonable cream to secure in hydration.
Advantages of Facial Steaming:
I. Opens Pores: The steam assists with opening up pores, making it simpler to eliminate pollutants and abundance oil.
II. Further develops Course: Facial steaming increments blood stream, advancing a sound composition.
III. Upgrades Item Assimilation: Subsequent to steaming, your skin is more responsive to medicines, permitting items to infiltrate better.
IV. Unwinding: The interaction can be unwinding and relieving, giving a concise snapshot of taking care of oneself.
Alert:
A. Temperature Mindfulness: Be wary of the steam's temperature to keep away from consumes. Begin at a protected distance and change likewise.
B. Skin Responsiveness: In the event that you have touchy skin or a skin condition, talk with a dermatologist prior to endeavoring facial steaming.
Integrating facial steaming into your skincare routine occasionally can add to a more clear composition and the presence of limited pores.
Step.3: Honey Back Rub:

Fixings:
- 2 Tablespoons of Honey
- 1 Tablespoon of a Transporter Oil, (for example, coconut oil or sweet almond oil)
Guidelines:
i. Blending the Fixings: In a bowl, join 2 tablespoons of honey with 1 tablespoon of your picked transporter oil. Blend well until you accomplish a smooth consistency.
ii. Set up the Back Rub Region: Guarantee the region where you intend to rub is perfect and agreeable.
iii. Application: Take a modest quantity of the honey and oil blend in your grasp. Delicately knead the combination onto your skin utilizing round movements. Honey is tacky, so take as much time as is needed and guarantee even inclusion.
iv. Rub Strategies: Utilize a blend of delicate strokes, plying, and roundabout movements to rub the honey combination into your skin. Center around regions where you need to further develop dissemination or ease strain.
v. Length: Knead for around 10-15 minutes, permitting the honey to feed your skin and the back rub to loosen up your muscles.
vi. Wash Off: After the back rub, flush off the honey blend with warm water. You may likewise utilize a gentle chemical to eliminate any buildup.
vii. Saturate: Wrap up by applying a light cream to keep your skin hydrated.
Advantages of Honey Back Rub:
I. Normal Moisturization: Honey is a characteristic humectant, assisting with holding dampness in the skin.
II. Cell Reinforcement Properties: Honey contains cancer prevention agents that can assist with safeguarding the skin from harm.
III. Skin Sustenance: The mix of honey and a transporter oil gives fundamental supplements to the skin.
IV. Unwinding: The back rub itself adds to muscle unwinding and a general feeling of prosperity.
Keep in mind, on the off chance that you have sensitivities or skin responsive qualities, it's fitting to do a fix test prior to applying any new blend to your skin. Moreover, this honey back rub should be possible intermittently as a component of your skincare schedule.
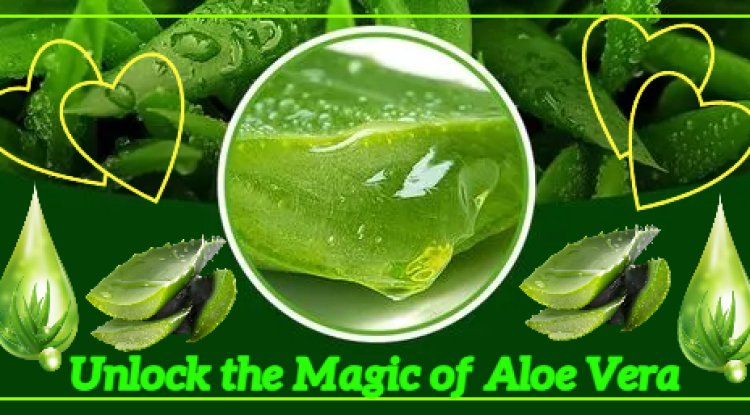
Step.4: Magical Glow Face Mask:
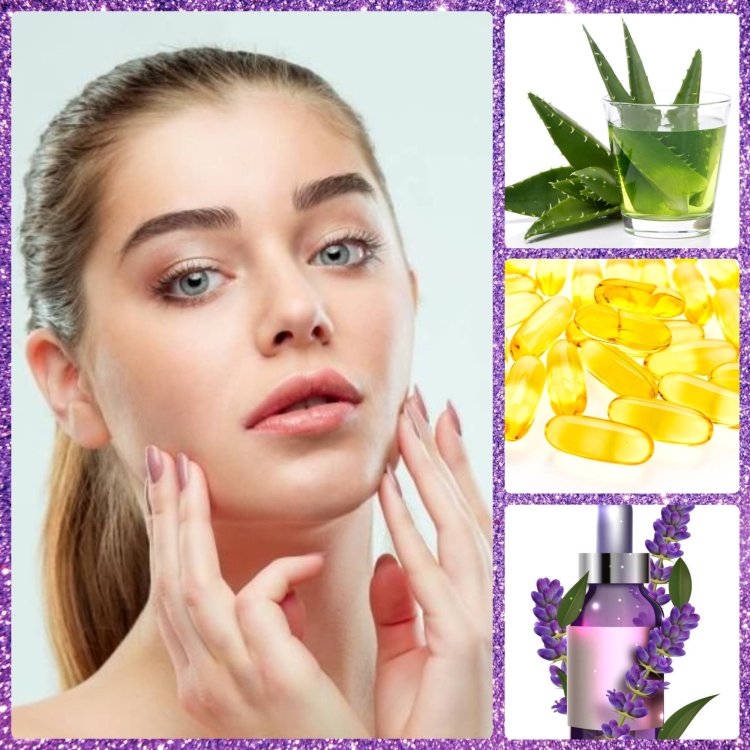
Absolutely! Making a facial covering with Vitamin E and Aloe Vera gel is a great method for supporting and hydrate your skin. Here is a straightforward recipe and guidelines for making and applying this cover:
Vitamin E and Aloe Vera Facial covering:
Fixings:
- 1 tablespoon Aloe Vera gel
- 1 Vitamin E capsule (cut and concentrate the oil)
- Discretionary: A couple of drops of rejuvenating balm (like lavender or chamomile) for a lovely smell
Directions:
i. Extricate Aloe Vera Gel: On the off chance that you're utilizing a new Aloe Vera leaf, cut it open and scoop out one tablespoon of the gel. Assuming you're utilizing locally acquired Aloe Vera gel, measure out one tablespoon.
ii. Cut Vitamin E Case: Utilizing a perfect needle or pin, cut a Vitamin E container, and get out the oil into the Aloe Vera gel. Dispose of the container shell.
iii. Discretionary: Add Rejuvenating oil: In the event that you want a lovely fragrance, add a couple of drops of your picked natural ointment to the blend. Rejuvenating ointments like lavender or chamomile can add a relieving component to the veil.
iv. Blend Well: Mix the fixings completely to guarantee an even blend.
v. Purify Your Face: Begin with a spotless face, liberated from cosmetics or pollution.
vi. Application: Utilizing clean fingertips or a brush, apply the cover equally to your face, keeping away from the sensitive eye region.
vii. Loosening up Time: Permit the veil to sit all over for 15-20 minutes. During this time, you can unwind and allow the feeding fixings to chip away at your skin.
viii. Flush Off: After the suggested time, wash off the veil with tepid water. Tenderly wipe your go head to head with a spotless towel.
ix. Saturate: Circle back to your standard cream to secure in the hydration.
Advantages of the Vitamin E and Aloe Vera Facial covering:
I. Hydration: Aloe Vera is known for its saturating properties, and Vitamin E adds an additional increase in hydration.
II. Cell Reinforcement Assurance: Vitamin E is a cancer prevention agent that safeguards the skin from free revolutionaries.
III. Relieving and Quieting: Aloe Vera makes a calming difference, making it reasonable for delicate or bothered skin.
IV. Skin Fix: Both Vitamin E and Aloe Vera might add to skin fix and recovery.
This facial covering can be utilized on more than one occasion per week to keep up with sound and hydrated skin. Similarly, as with any new skincare item, play out a fix test to guarantee you have no unfavorable responses to the fixings.
Conclusion:
All in all, accomplishing a brilliant and HD shine for all skin types at home throughout the cold weather months includes a smart and steady skincare schedule. As temperatures decrease, it becomes basic to zero in on hydration, security, and sustenance. Fitting your skincare routine to suit your skin type, consolidating saturating fixings like hyaluronic corrosive, shea spread, and regular oils, can battle the dryness and flakiness related with winter. Besides, delicate peeling and the utilization of feeding facial coverings can upgrade skin surface and advance a sound sparkle.
Remember the significance of safeguarding your skin from cruel winter components with a solid sunscreen. Whether your skin is dry, sleek, or blend, adjusting these colder time of year care practices can add to keeping a glowing and top quality coloring from the solace of your home. Keep in mind, consistency and regard for your skin's special necessities are critical to accomplishing and keeping up with that sought after winter sparkle.
What's Your Reaction?